As a Microsoft trainer who is also a returning adult student, I have been meaning to write about this topic for ages… Here are my top 5 favorite tools in Microsoft Office for students. These are in random order, because there was no earthly way to pick a favorite!
1. AutoSave Important Documents
Have you ever spent hours typing a paper without saving? Sometimes we get away with this sort of thing, and other times… Word, or your computer, might “encounter a problem,” leaving you stranded, with nothing to show but lost time and effort.
Consider using the AutoSave feature in Word by saving your paper to OneDrive.
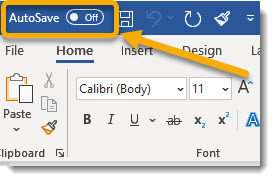
- Open up an Office file (for example Word). You will notice an Autosave slider at the upper left of the screen.
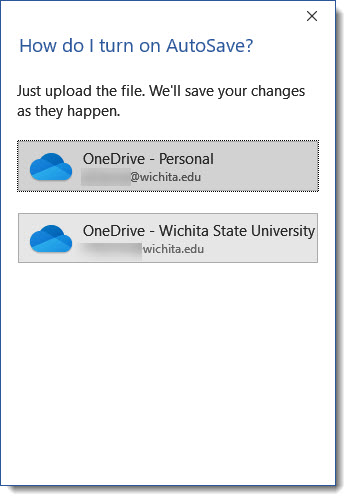
- When you toggle that on, you will be prompted to save your file to OneDrive.
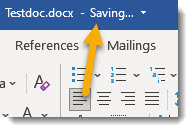
- Once you do this, your document will constantly save automatically every time you make a change.
Also, by saving your document to OneDrive, you will be able to access your file from any computer or mobile device. Win Win!
2. Dictation Tools
Think about those classes where you have to do a lot of reading and are trying to simultaneously take notes while reading.
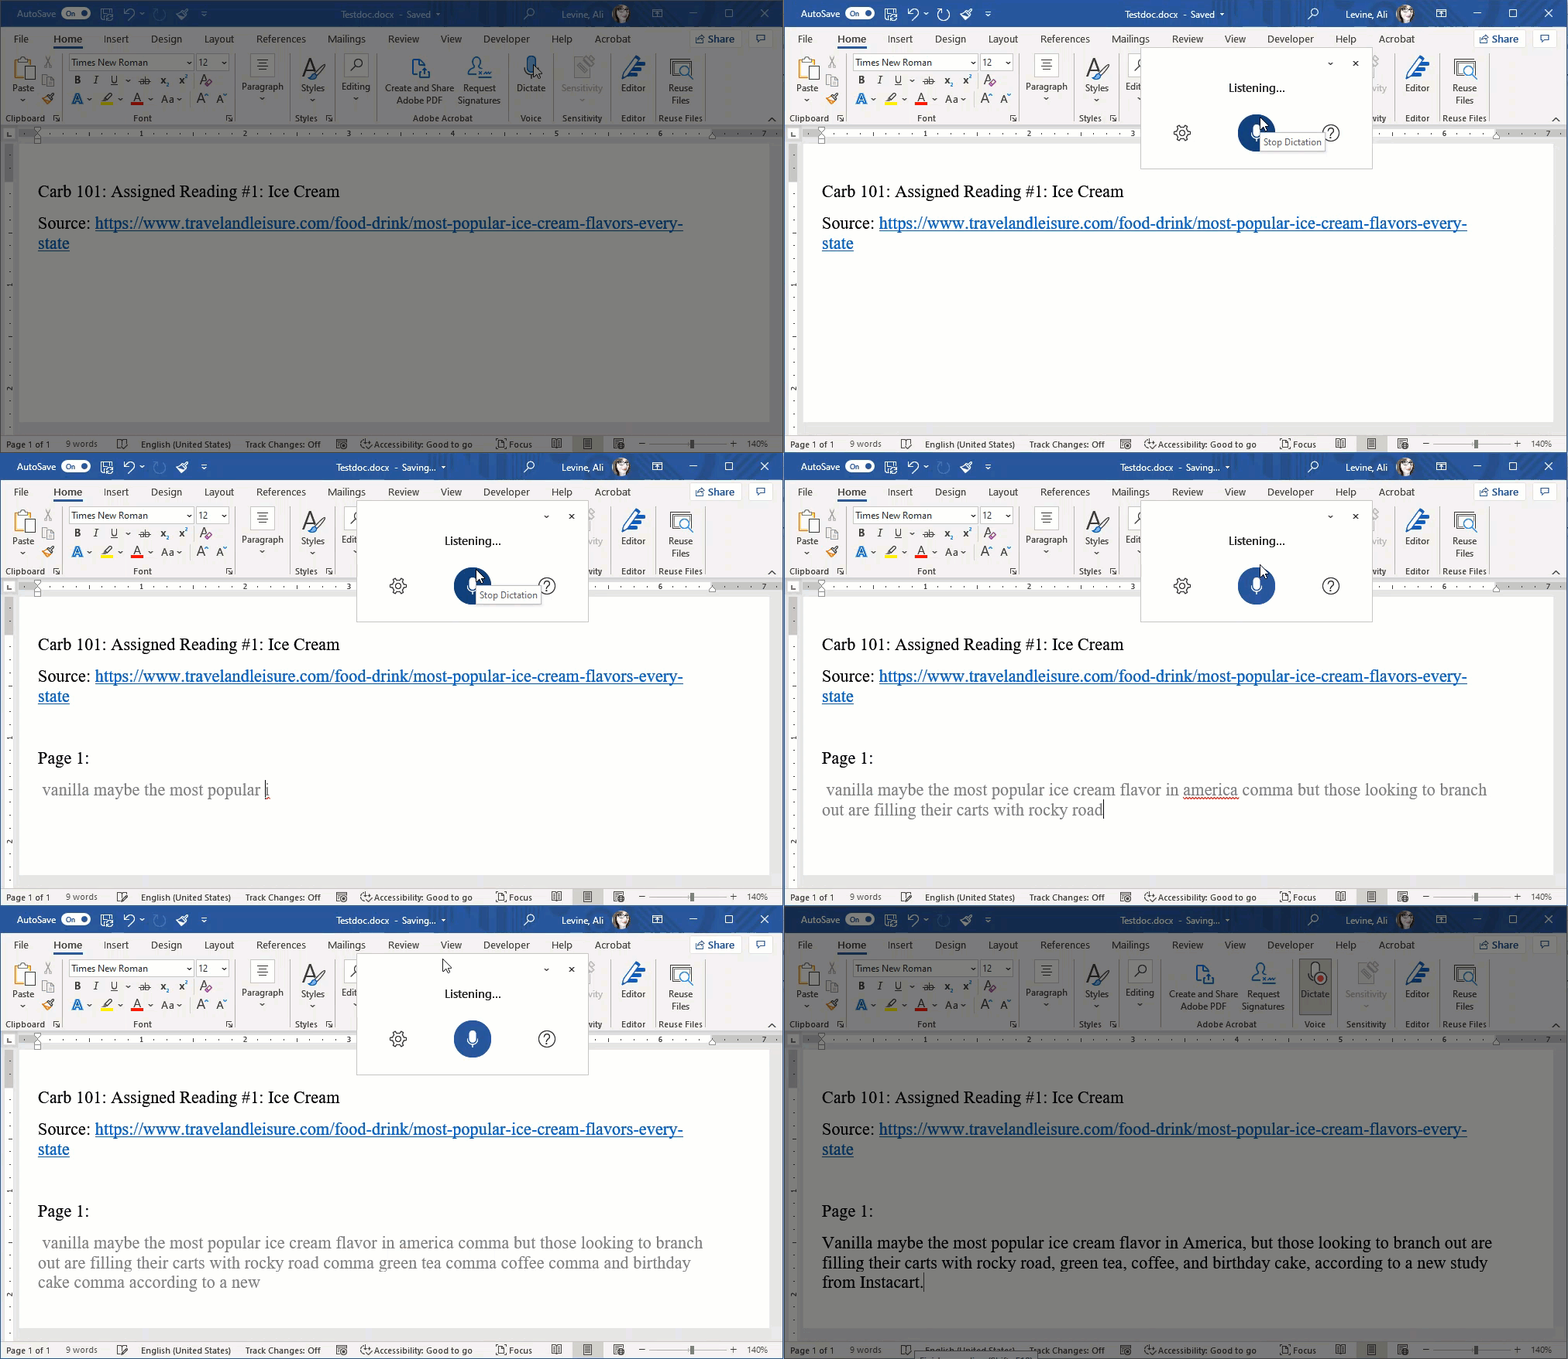
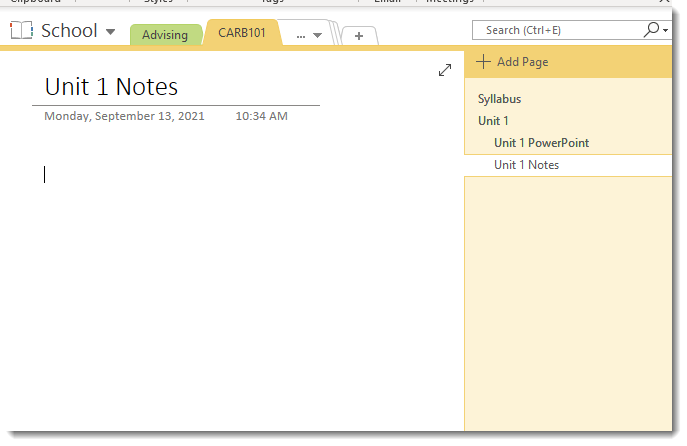
Take a look at how quickly I was able to take notes for my fictional CARB101 class, below:
Here is how you can try out this feature, and one caveat, you will need Office 365 for this one:
- Open up a Word document (or some versions of OneNote). On the right side of the Home tab, click on Dictation.
- As you are reading your textbook, read out loud the passages that you would like to include in your notes.
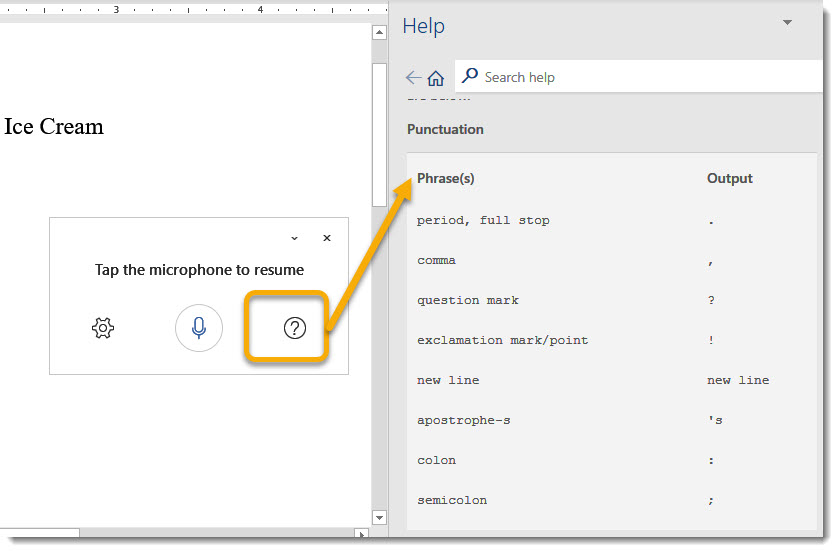
Pro Tip: there are commands within the dictation tools for punctuation, moving to the next line, and so on. If you want to see those, click on the question mark next to your Dictation tools:
3. OneNote: Organize Class Notes and Documents
There are so many ways you can utilize OneNote as a student. In fact, I had so much to say about OneNote that this was difficult to summarize, but here goes:
- Note Taking: Most obviously, OneNote is an excellent way to organize your class notes:
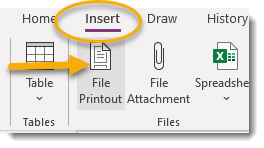
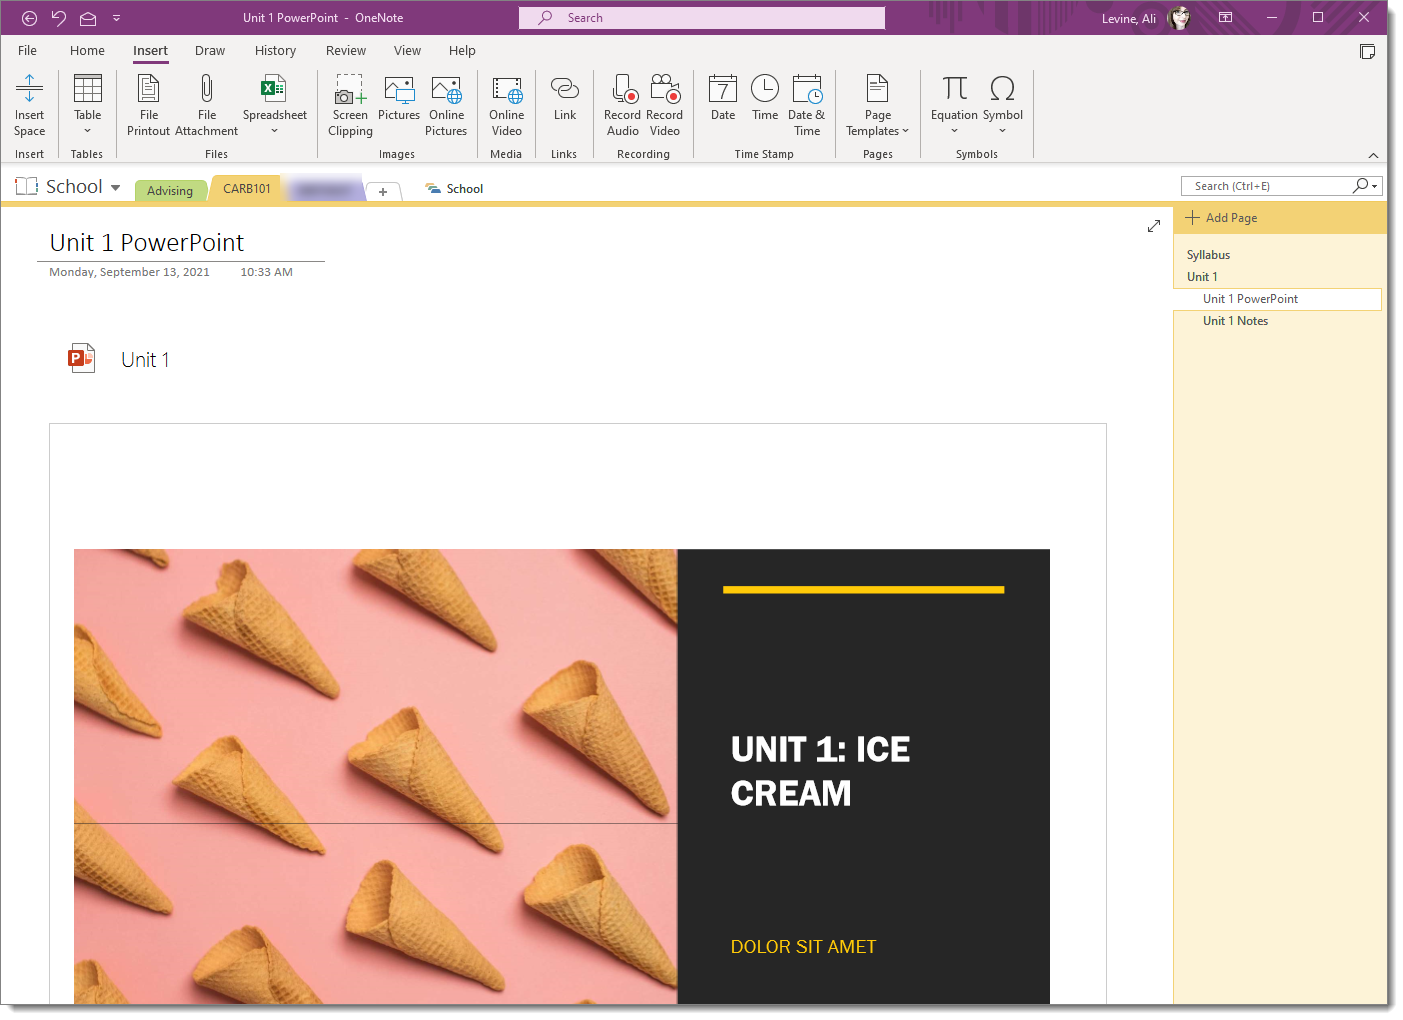
- Files: You may also find OneNote to be a handy place to organize class handouts, syllabi, and so on. Try inserting content as a File Printout (Insert Tab):
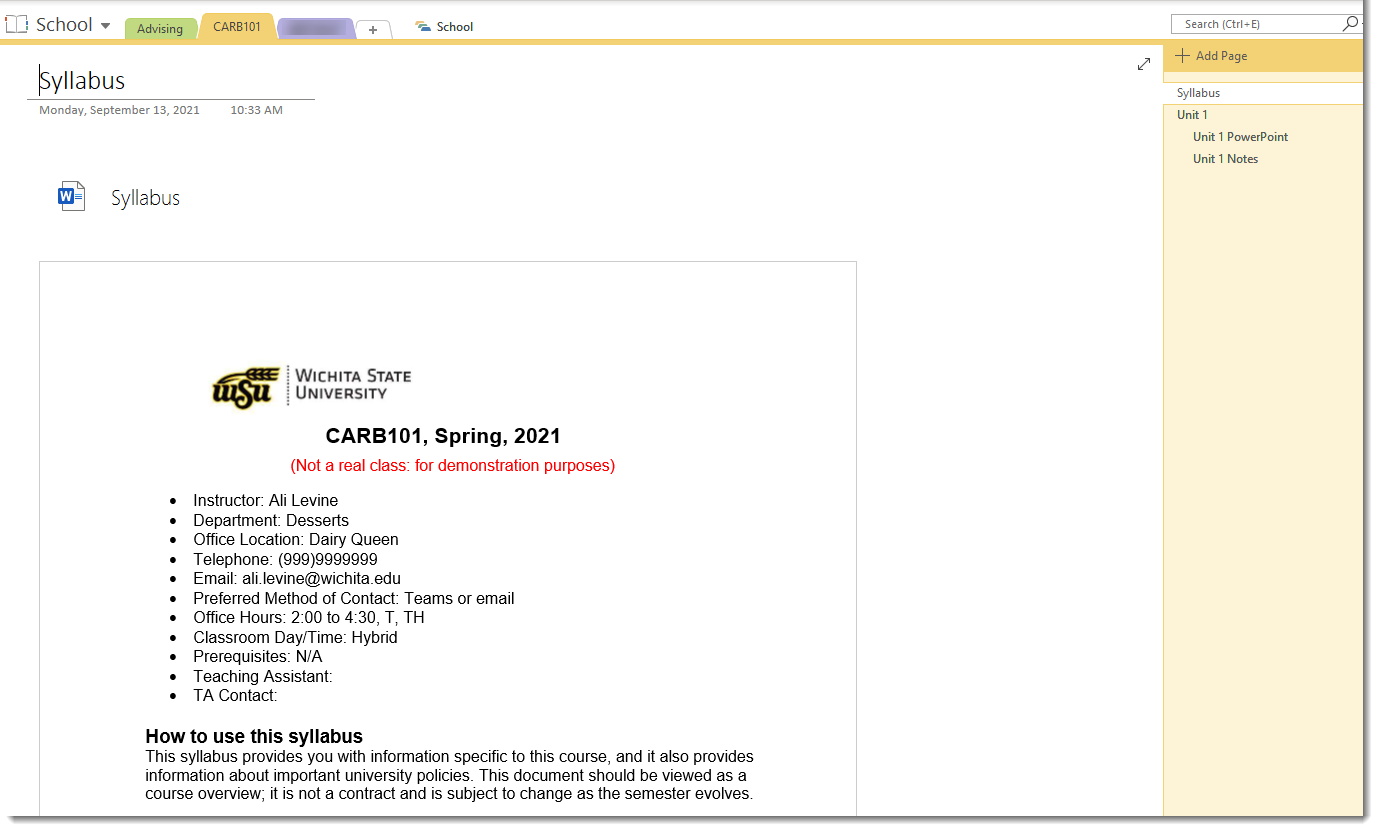
This will serve to attach a file to your notebook, with the addition of a handy readable printout within the note itself. Here is my fictional syllabus, as an example:
- Printout File Options: This printout method will work with Word, Excel, PowerPoint and PDF files. Maybe your professor has shared a series of PowerPoints, for instance. Insert as a printout!
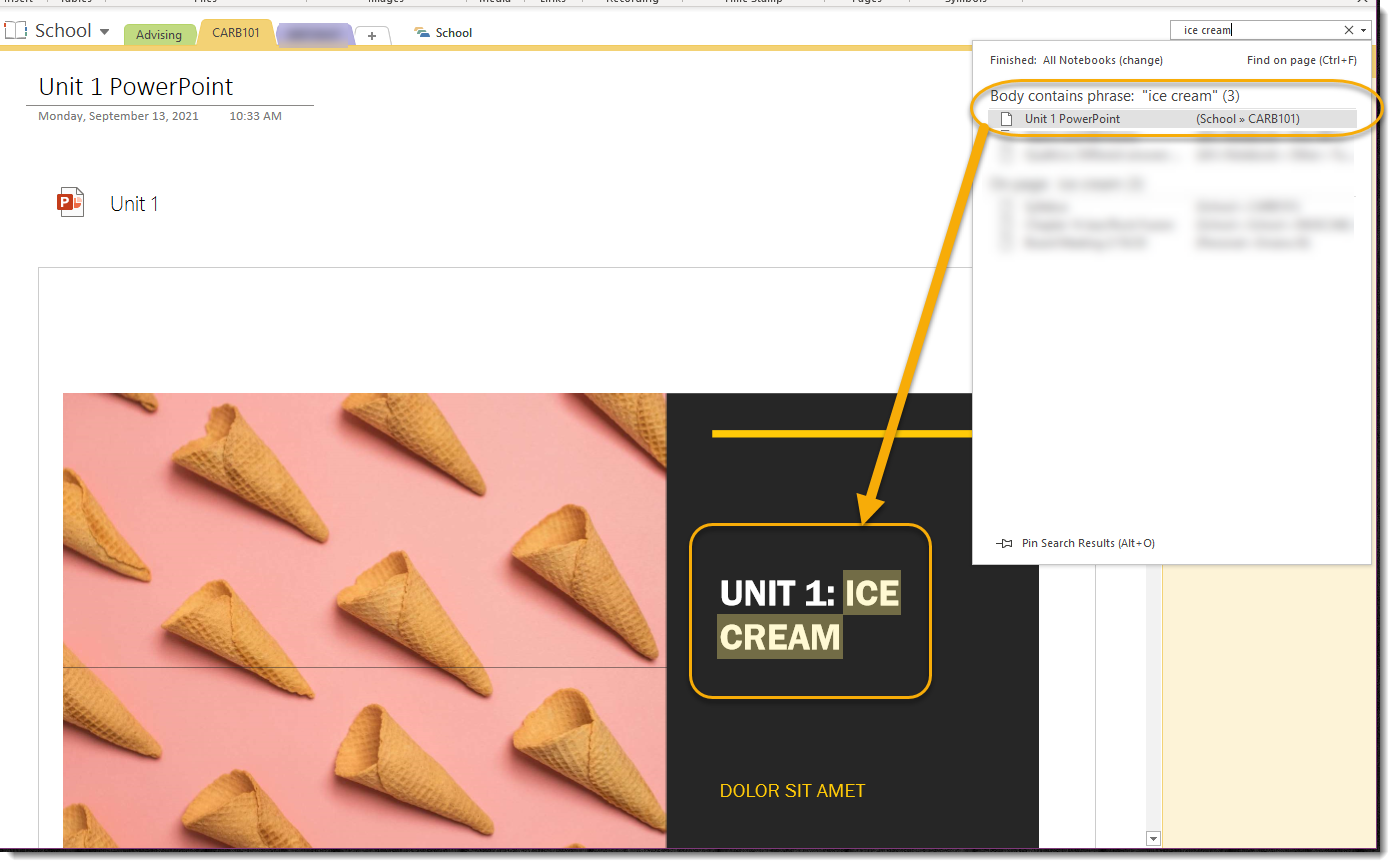
- Search Features: OneNote has robust Search features, particularly the Windows desktop version of OneNote.
- Bonus: when you insert documents as a printout, the content within the attachment is also searchable. Search tools are either found on the upper right of your OneNote screen, or on Mac and online versions, at the upper left via a spyglass.
- OneNote also has OCR technology, meaning it can search the text within pictures.
There is much more to say about OneNote, but this will get you launched!
4. Word: Citation Manager
You may have heard of EndNote and Zotero, but did you know that Word has a built-in citation manager? Word’s citation manager will allow you to save sources, cite sources in a variety of formats, and also create an instant Works Cited/Bibliography in a variety of styles.

I have an entire entry on the Citation Manager in Word here: Word: Citations and Bibliography.
Fair warning: You do still have to double check yourself for typos!
5. Word: Style Sets
Will you be writing copious papers for one class, with specific formatting guidelines that will apply to all of these papers? For instance, “all papers must be in Times New Roman, 12 point font, double spaced.” You could set up each paper with these settings one by one, or you could utilize Word’s Style Sets so that you can apply all these special settings to future papers with a click of a button.
Step 1: Changing Existing Styles
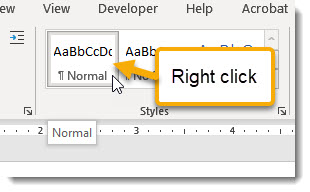
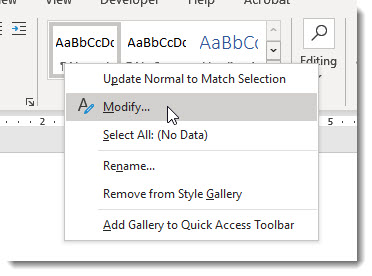
- Open up a blank word document. Instead of changing text by hand, in the Home tab, Styles group, right click on the Normal style.
- Select Modify.
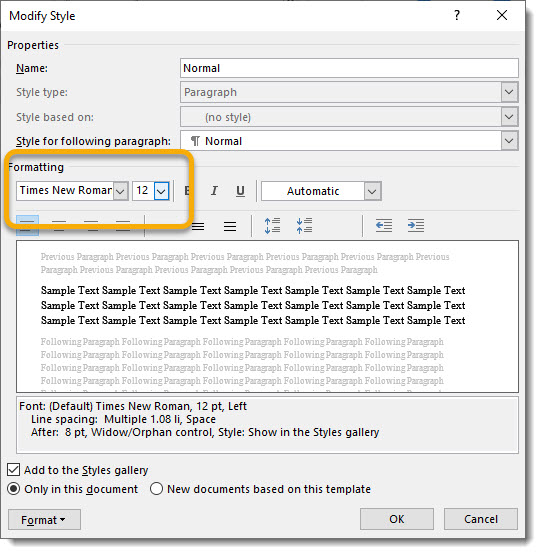
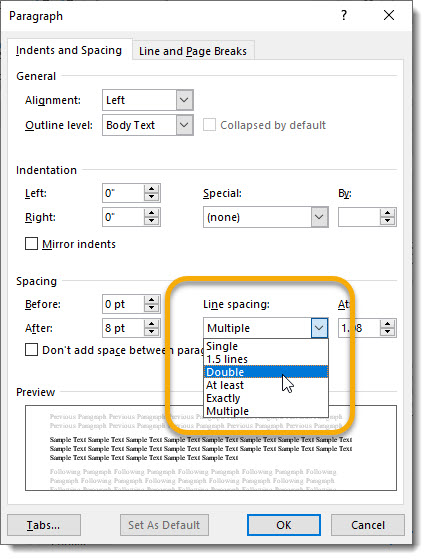
- In the popup screen that appears, make the various font customizations: in this case, Times New Roman, 12 point font, double spaced.
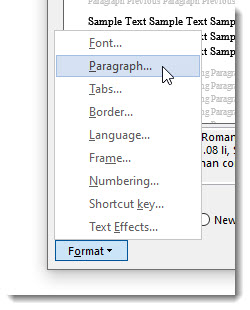
Note: you can do more advanced formatting in the Format dropdown in the lower left.
… like hanging indents, spacing, etc.
Step 2: Save the new style
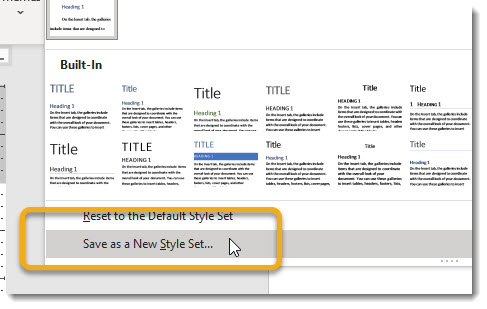
- Go to the Design tab, Document Formatting group, and click on the arrow at the lower right.
- Select Save as a New Style Set.
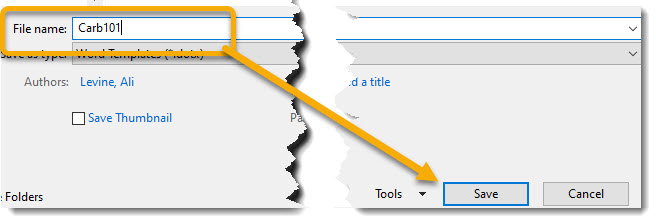
- Choose a name (perhaps the class name), and click Save.
Step 3: Access the style
Going forward, you can apply these exact font settings to a new Word document:
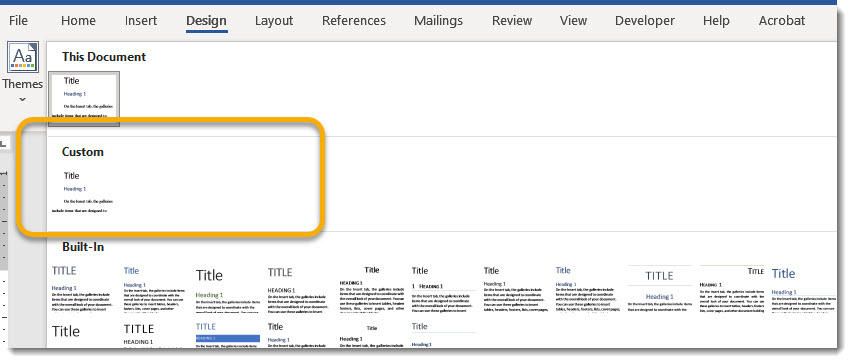
- Go to the Design tab, Document Formatting group, and click on the arrow at the lower right.
- You now have a Custom section with your presets ready to apply to the new document.
In other words, with just a couple clicks, you can jump right in to typing your paper with the exact prescribed formatting.
Thoughts?
Do you think you will use these tips as a student? Or even as a non-student? I would love to hear what you think!
Congratulations, Power Users!
Congratulations to our newest Power Users! For the full gallery, and more information about the WSU Microsoft Office Power User Program, please visit: wichita.edu/poweruser
Deana Beek
Daniella Blair
Cheyenne Dealy
Janise Eck
Shelly Ellis

